Pages

Wednesday, January 31, 2018

Wing Day

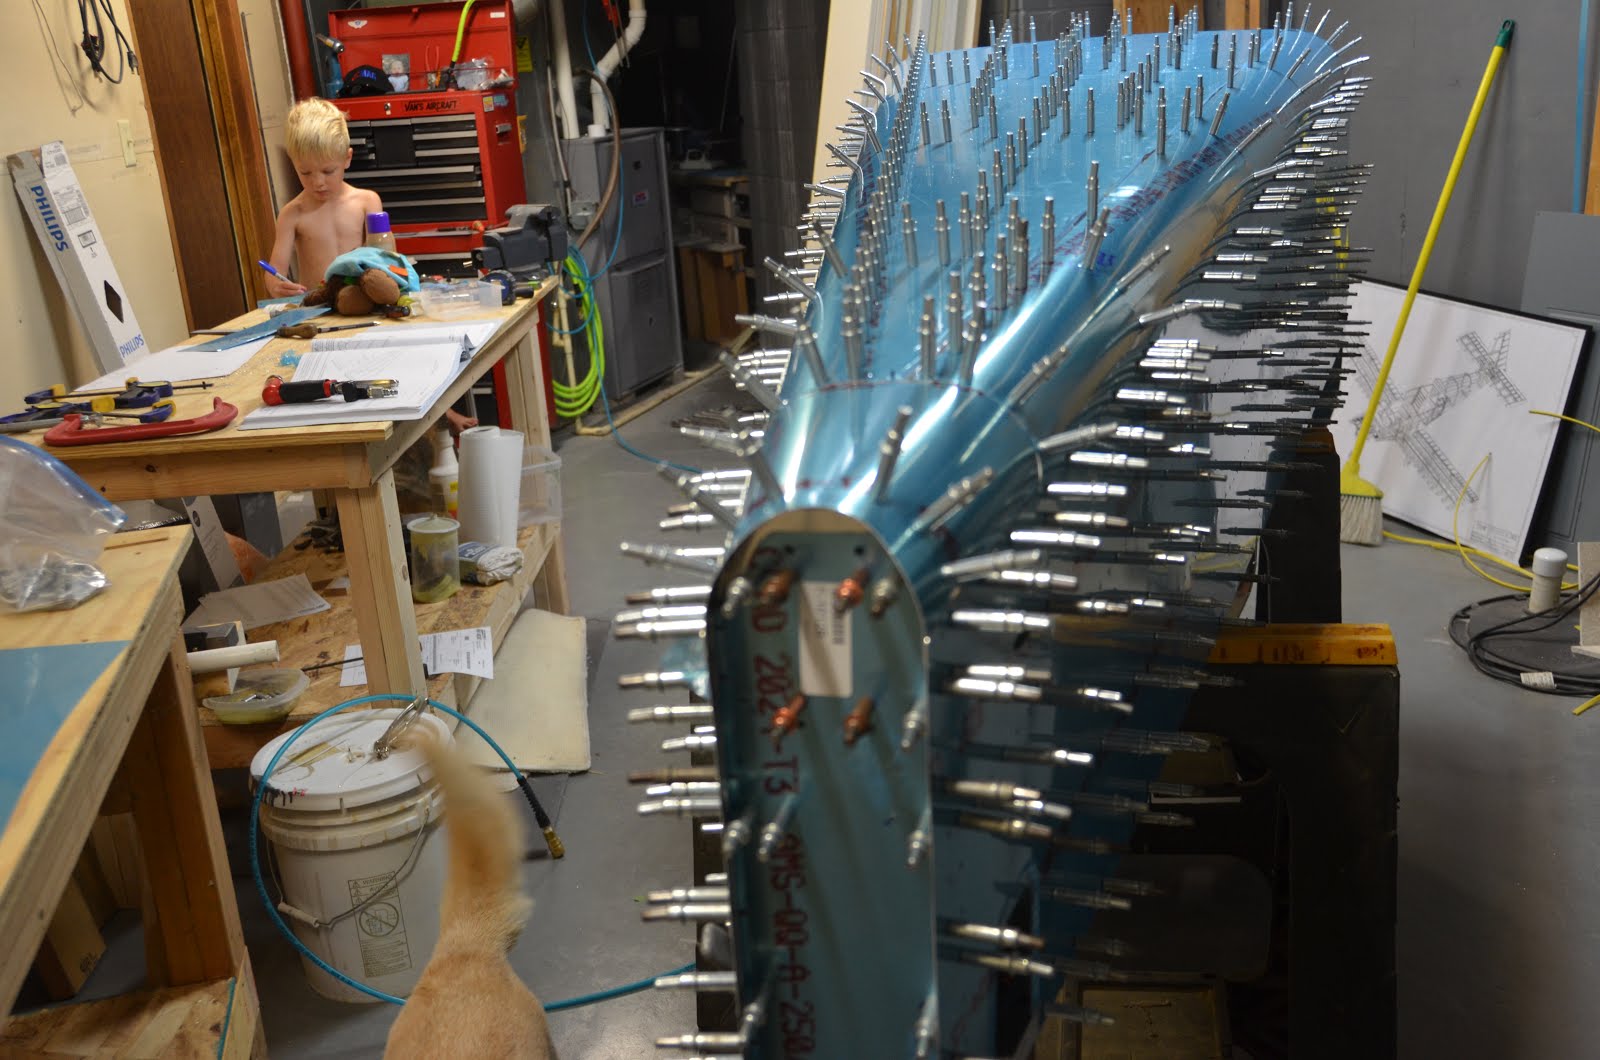
The wings are here!  Van's estimates 8 weeks for wings arrival, and these took the full 8 weeks.  Even with that full wait time, they still didn't send the fuselage spar carrythrough.  Its not needed for the wings but they send it anyway for some reason.  It showed up in its own box about a month later.

The spar box is LONG - about 12'8".  Here's my truck after picking it up at the ABF trucking terminal.


Here they are with the top of the crates popped off


They wrap everything in crazy amounts of packing paper. 


Here's the hardware bag.  Holy motherload of rivets!! 


Time to get to work


Sunday, January 21, 2018

Riveting the tailcone

It took 3 sessions of priming parts to get all the tailcone pieces done.  Then a TON of dimpling.  The side skins have a curve and getting them dimpled with the DRDT-2 was a puzzle but after some time I got it.  Could have used a helper there but I managed.


During final assembly, there's an error in the plans.  The rivet I show here does not go on the AFT lower skin.  It should be the forward skin.

Page 10-25:


I also wondered why the huge hole for the tiedown ring.  Turns out there's a nut on it you can snug up.  Still seems big to me.

Then starts the LARGE task of riveting on the side and bottom skins.  Its a whopper!  Some folks will say you should put both side skins on at the same time to avoid twist.  I didn't think it was an issue since everything is match-drilled and dimpled, if there's a twist its already in.  And also, when I had all the bottom and side skins done the cone would still twist quite a bit with just a small effort.  Not till the rear deck hardware went on did it get rigid against twisting along the longitudinal axis.


Then you put the aft deck on, a few pieces of heavy angle and bolt it all tight.  If you have all 3 yokes for your squeezer, you can get all of the AN470 rivets in the aft deck except for this one (and corresponding one on the other side) with your squeezer.


For the AFT top skin, I learned a trick from Ed's blog.  Thanks Ed, I owe you a beer.  You rivet on the 3 top J-Channel stiffeners before putting that top skin on the plane.  I did a test run to make sure you can get those stiffeners in the frames with it all assembled.  It takes a little persuasion, but sure enough it works.  Saves you a bunch of uncomfortable riveting from inside the tiny tailcone and I find backriveting on the bench makes the best quality rivets.


I riveted in the little hangers I made so adel clamps can be used to fasten the static lines.  I used the middle stiffener, I see others use the left side one.  If I had to do it again, i'd probably do left also.


Sure enough it works.


Similar?  Yes? No?


Here's a small gotcha.  Its in the plans but easy to miss.  Don't dimple the back corner holes of the AFT top skin.  They become fairing attach holes.  The corresponding side skin and longeron holes aren't dimpled/countersunk.


And done!!  There are two more sections in the paperwork, one for assembling the empenage and another for the fiberglass fairings.  I'm going to defer both of those for various reasons.  Bring the wings!


Monday, January 1, 2018

FlyLEDs

There's a kit you can buy for nav and tail lights.  These things used to be a big source of wallet pain for experimental builders because aircraft lights in general are really expensive.  Now you buy the FlyLED kit for about $325, spend some time soldering and you end up with something better than what used to cost $1000+.

The kit contents:


First you soldier on the 9 white LEDs.  Those are the big ones in the middle, the lens looks yellow.  The instructions do a pretty nice job of explaining how to soldier.  It took me just a little bit to figure out, then I think I did pretty OK.  Second you put the color LEDs on.  6 around the perimeter of each board.  Boards with green dots get green LEDs, red/red.

This is the completed wingtip lights.  Took me probably 3-4 hours at my very slow pace.  I tested them out with 9.5v, man they are BRIGHT!


One of the green LEDs in my shipment was busted.  It functions, but the glass (or whatever) dome was broken.  Going to ask Paul at FlyLEDs what my options are.
UPDATE. Paul sent me a couple replacements from Australia.  His excellent reputation is well deserved.


Then you start the controller board.  Luckily the big components are already soldiered for you in the latest version of the kit.  Thats a huge plus.  The bad part is the remaining components are TINY.


Here's the controller board with resisters all done.


Here it is all done and working.  There are 4 dip switches that configure how you want the nav lights to flash.  Notice my hillbilly 9.5v battery.  Red is left wing, green is right wing, yellow for tail light.  Pretty cool!


Thursday, September 28, 2017

Tailcone first assembly

Tailcone first assembly is just about finished.  I've really slowed down this summer because of the massive home remodel that is happening concurrently.  Hope to have that mostly out of my life in the next few months.

All of the long thin pieces here are stiffeners.  There is a pile of them.  You put them in their slots, put the skin on, then match drill from the skin to the stiffeners.  There's a hole every 1.25" or so.  So yes this is a TON of drilling.


Here you can see the stiffeners have been drilled on the bottom skins, the side skin stiffeners have about 1 in every 10 holes.  I do this to get the position of the stiffener correct.  Then you can mostly just go nuts, only worrying about drilling straight.


Here's a nasty little lesson learned.  I have a big assortment of cheap drill bits I got from Menards.  Plans called for initially drilling the longerons holes to 3/32, not the usual #40 bit.  3/32 is a tiny bit smaller.  The reason is because the top skins end up overlapping these holes, so you final drill them later on.
Anyway I used one of those cheapie bits, and paid for it.  The tip of the bit broke off just as it was breaking thru to the back side of the longeron.  Took some messin', but I got it out.  No more cheap shitty bits!


Little buddy practicing writing his name while Dad works on the aft end.


I thought I had a good pile of clecos.  By the time you put the top skins on, its not enough, guaranteed!


My building partner


First assembly mostly complete.


I've taken a small departure to prepare for some things I want to mount in the tailcone.  One is an oxygen bottle, other is the ADAHRS tray.

ADAHRS stands for Air Data Attitude Heading Reference System.  Its a sensitive little box that senses how fast your going, altitude, heading, pitch, roll and yaw.  They are not to the caliber of the Inertial Reference Units we put in the big jets, but still pretty darn accurate.  And for flying in clouds, they are critical to safety.  They have to be mounted away from ferrous metals because they have a compass.  So the top of the tailcone is a good place.

Another RV-10 builder Justin has some awesome plans for a shelf you put in the top of the cone.  Saved me a lot of time.  I had all the material laying around from scraps EXCEPT for the angle aluminum.  Had one chunk of .063 3/4 x 3/4 , but it was only long enough for one side.  Luckily my buddy Mike had a 4" piece to spare.


One last thing.  I had to buy a 12" long #12 drill to get two of the aft deck to longeron holes.  Wasn't in any of the tool lists I've seen.