Pages

Monday, January 1, 2018

FlyLEDs

There's a kit you can buy for nav and tail lights.  These things used to be a big source of wallet pain for experimental builders because aircraft lights in general are really expensive.  Now you buy the FlyLED kit for about $325, spend some time soldering and you end up with something better than what used to cost $1000+.

The kit contents:


First you soldier on the 9 white LEDs.  Those are the big ones in the middle, the lens looks yellow.  The instructions do a pretty nice job of explaining how to soldier.  It took me just a little bit to figure out, then I think I did pretty OK.  Second you put the color LEDs on.  6 around the perimeter of each board.  Boards with green dots get green LEDs, red/red.

This is the completed wingtip lights.  Took me probably 3-4 hours at my very slow pace.  I tested them out with 9.5v, man they are BRIGHT!


One of the green LEDs in my shipment was busted.  It functions, but the glass (or whatever) dome was broken.  Going to ask Paul at FlyLEDs what my options are.
UPDATE. Paul sent me a couple replacements from Australia.  His excellent reputation is well deserved.


Then you start the controller board.  Luckily the big components are already soldiered for you in the latest version of the kit.  Thats a huge plus.  The bad part is the remaining components are TINY.


Here's the controller board with resisters all done.


Here it is all done and working.  There are 4 dip switches that configure how you want the nav lights to flash.  Notice my hillbilly 9.5v battery.  Red is left wing, green is right wing, yellow for tail light.  Pretty cool!


Thursday, September 28, 2017

Tailcone first assembly

Tailcone first assembly is just about finished.  I've really slowed down this summer because of the massive home remodel that is happening concurrently.  Hope to have that mostly out of my life in the next few months.

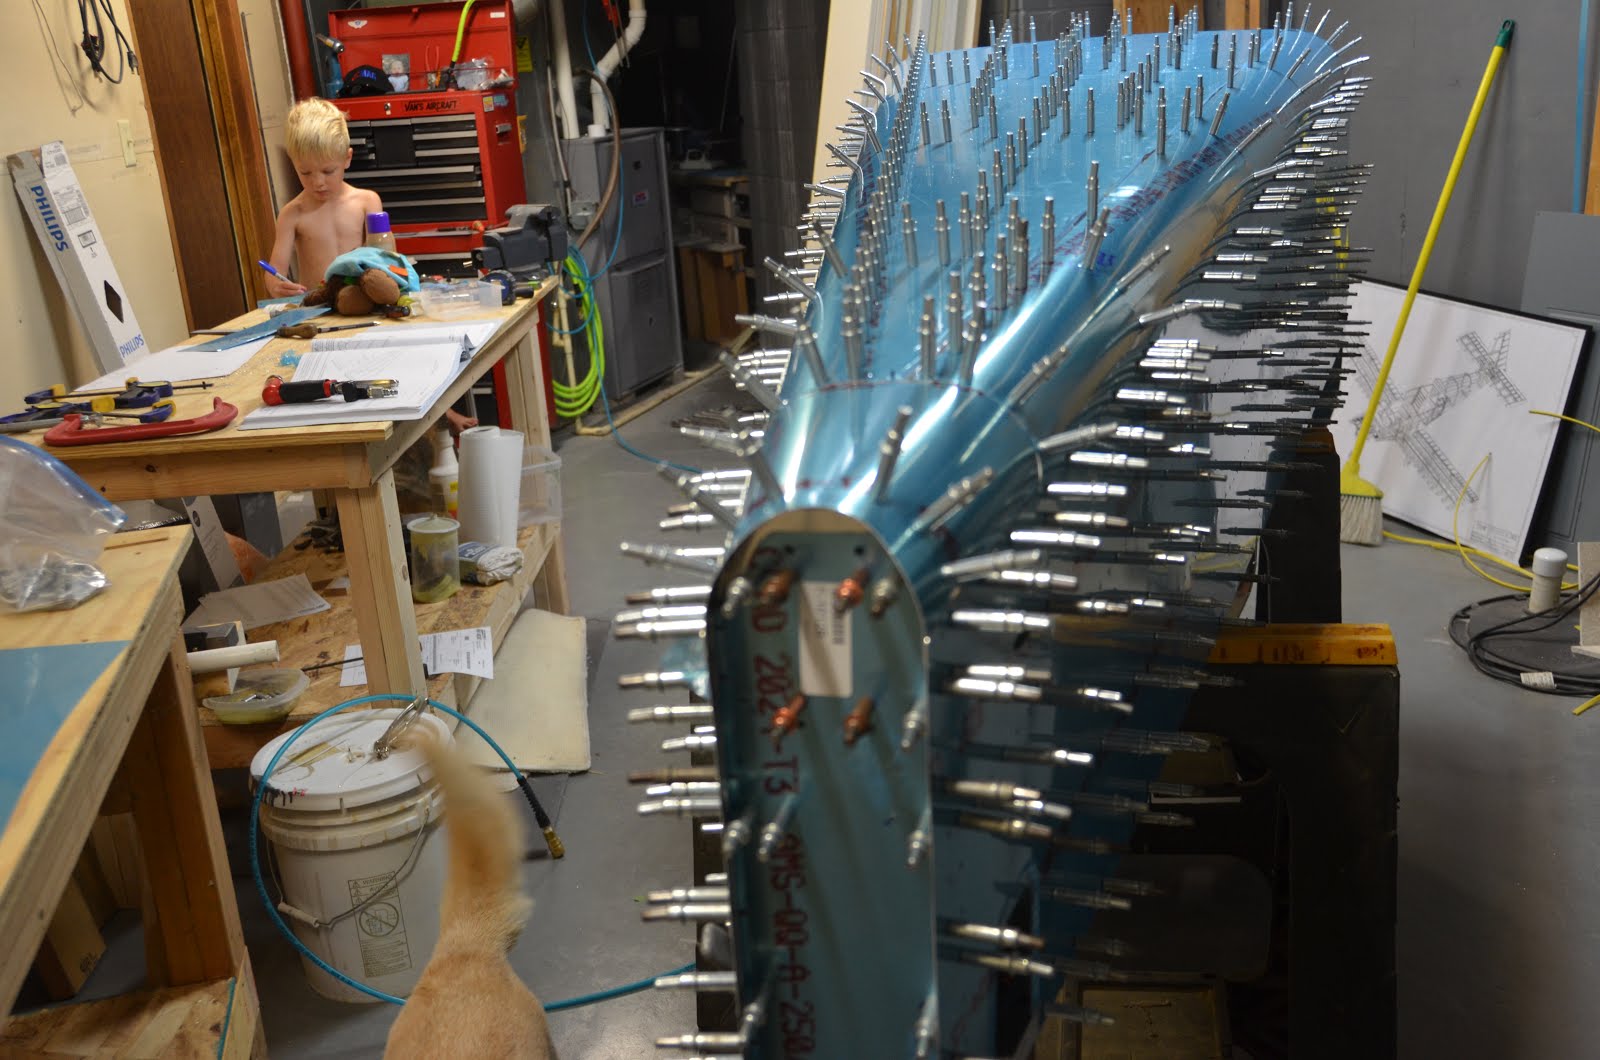
All of the long thin pieces here are stiffeners.  There is a pile of them.  You put them in their slots, put the skin on, then match drill from the skin to the stiffeners.  There's a hole every 1.25" or so.  So yes this is a TON of drilling.


Here you can see the stiffeners have been drilled on the bottom skins, the side skin stiffeners have about 1 in every 10 holes.  I do this to get the position of the stiffener correct.  Then you can mostly just go nuts, only worrying about drilling straight.


Here's a nasty little lesson learned.  I have a big assortment of cheap drill bits I got from Menards.  Plans called for initially drilling the longerons holes to 3/32, not the usual #40 bit.  3/32 is a tiny bit smaller.  The reason is because the top skins end up overlapping these holes, so you final drill them later on.
Anyway I used one of those cheapie bits, and paid for it.  The tip of the bit broke off just as it was breaking thru to the back side of the longeron.  Took some messin', but I got it out.  No more cheap shitty bits!


Little buddy practicing writing his name while Dad works on the aft end.


I thought I had a good pile of clecos.  By the time you put the top skins on, its not enough, guaranteed!


My building partner


First assembly mostly complete.


I've taken a small departure to prepare for some things I want to mount in the tailcone.  One is an oxygen bottle, other is the ADAHRS tray.

ADAHRS stands for Air Data Attitude Heading Reference System.  Its a sensitive little box that senses how fast your going, altitude, heading, pitch, roll and yaw.  They are not to the caliber of the Inertial Reference Units we put in the big jets, but still pretty darn accurate.  And for flying in clouds, they are critical to safety.  They have to be mounted away from ferrous metals because they have a compass.  So the top of the tailcone is a good place.

Another RV-10 builder Justin has some awesome plans for a shelf you put in the top of the cone.  Saved me a lot of time.  I had all the material laying around from scraps EXCEPT for the angle aluminum.  Had one chunk of .063 3/4 x 3/4 , but it was only long enough for one side.  Luckily my buddy Mike had a 4" piece to spare.


One last thing.  I had to buy a 12" long #12 drill to get two of the aft deck to longeron holes.  Wasn't in any of the tool lists I've seen.

Sunday, August 6, 2017

Tailcone Start

This is the last assembly of the tail kit.  Construction usually takes around 100 hours going by what I see others have done online.  I'm heavily loaded on our house remodel too, so I expect this one to take a while.

The next kit is the wings, and they take 6-8 weeks from order to arrival so I'll be placing that order hopefully this summer yet.

At first, most of what you do is prepare the bulkheads, stiffeners, and longerons.  Its quite a bit of bandsaw work, drilling, sanding and deburring.  You have to mark a line down the length of all the J-channel stiffeners.  There's a lot of them so I made a little template to hold the marker as I slide it down.


The longeron bending was a little scary at first, but I picked it up quick.  You put some stiff pieces of angle aluminum in a vice and whack it with a hammer to get a slight bend, about 2 degrees.  I went nice and slow and got a bend that was just right on both.


Then you put the bottom tailcone skin upside down on some saw horses and start putting the bulkheads on the skin.  I don't have tall sawhorses so I improvised with some 2x6s fastened to the benches.


A small GOTCHA here.  I put the bottom skin on my "saw horses" in the wrong direction here.  This has the left side open to the outside, the plans ask for access to the right side first.  It won't matter if you are on real sawhorses or just keep it in mind when labeling parts L/R.

Tuesday, July 4, 2017

Elevators Finished

I didn't do a good job of keeping this up to date because along with the plane, we've started a massive remodel of our house.  Its pretty much mandatory when you build a plane.  You have to either move 3 times or remodel, is what other builders tell me.

Insides primed all nice:


This is the hole where the trim cable passes through


For the trim tabs, you cut out some foam ribs.  You'd be surprised how rigid this stuff is.


Bending the edges of the trim tabs is pretty tricky.  I'd grade mine average at best.  Went with a trick I found online where you take a flat piece of bar steel and sharpen the end to fit up into the trim tab bend.  Clamp it all down to the bench and bend with the hammer.  It didn't slip, but it didn't get the most crisp edge either.


I did have one GOTCHA.  I riveted the trim tab horns on first, then tried to rivet the bottom skin to the spar.  Nope, won't work.  The tab covers the last rivet hole just enough to make it impossible to set properly.


And done.  My buddy Mike says the elevators are "tricky".  I'd have to agree.